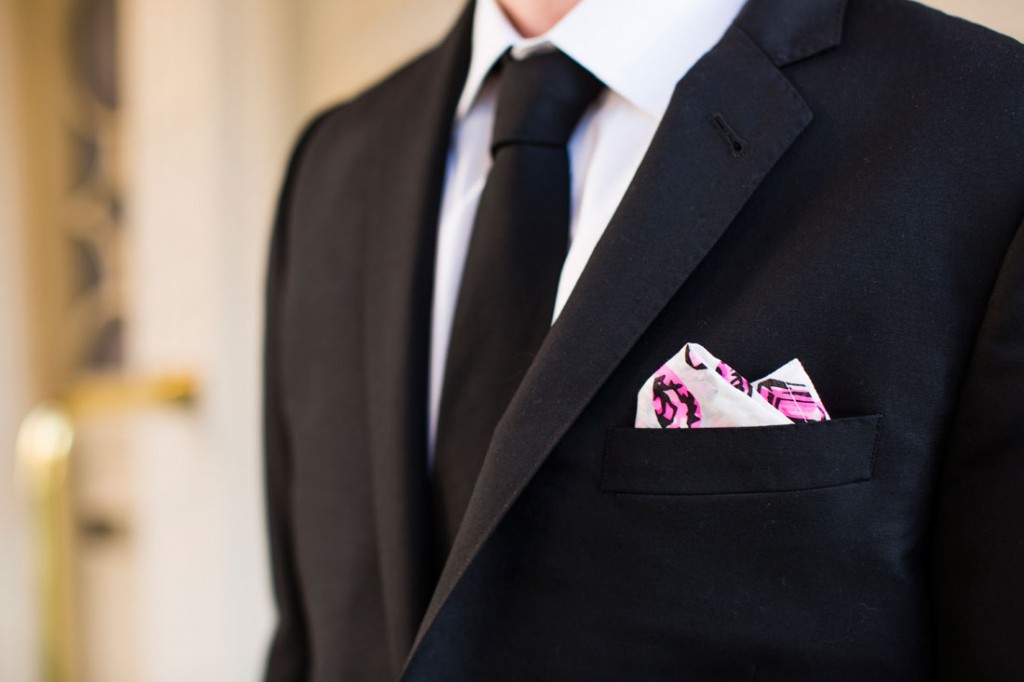
How to Fold a Pocket Square
As we have mentioned before there is one little thing that adds extra style points to your suit. Yes – we are talking about pocket squares again. We have already written a blog post about pocket squares and the rules on how and where to wear them. But there is one little thing we haven’t written – how exactly to fold a pocket square correctly…
There are many ways to fold a pocket square. So we start our step-by-step tutorial from the easiest and then we will also show you the more complicated. What we recommend you to do is save this article or bookmark this page so it would come in handy anytime needed.
1. “The Square Fold”
The pocket square at its most basic. Use it when you want maximum formality and understated elegance.

Step 1. Lay your pocket square unfolded and flat with the two top corners horizontal.
Step 2. Fold the the square to the width of your jacket pocket.
Step 3. Fold the bottom to form a finished rectangle the same width as your pocket, and about half an inch longer.
Step 4. Tuck the folded-up bottom edge into your jacket pocket and snug it down to the base.
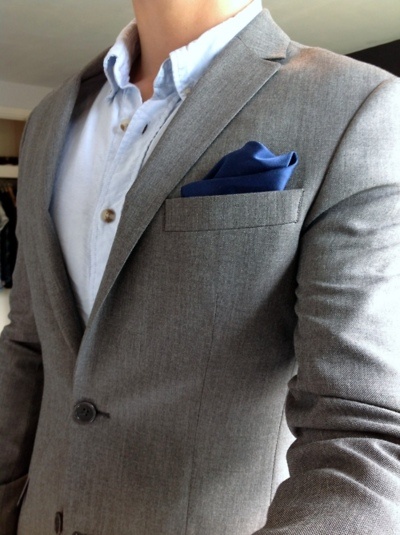
2. “The One Point Fold”
Simple enough to be business-appropriate. But could be worn with a relaxed, casual blazer too.

Step 1. Begin with the square fully unfolded and flat.
Step 2. Fold the square diagonally down in the middle, bringing one corner up to meet the opposite corner. This should leave you with a wide triangle of doubled-over fabric.
Step 3. At the base of the triangle, where you folded the square in half, fold the doubled-over corners inward from both sides.
Step 4. Slide the folded bottom edge into your jacket’s breast pocket and tuck it all the way down, hiding the rectangular edges. The only thing remaining visible should be the triangle, centred in the pocket and pointing straight up.
3. “The Two-Point Fold”
A dressy style which is popular among business professionals.
Step 1. Begin with the square fully unfolded and flat.
Step 2. Fold the square diagonally down in the middle, bringing one corner across to meet the opposite corner. Angle the fold very slightly off-centre, so that one corner lies just to the left of the other. The two offset corners will be the two visible points to the fold.
Step 3. At the base of the triangle, where you folded the square in half, fold the doubled-over corners inward from both sides. Try to fold each corner roughly the same amount, so that the remaining diagonals are the same length.
Step 4. At this point the bottom of the folded square should be rectangle and the rough size of your jacket’s breast pocket. Tuck the flat bottom of the fold into your pocket and snug it all the way down until the vertical edges are completely hidden. The only thing visible should be the two slightly offset triangular points.
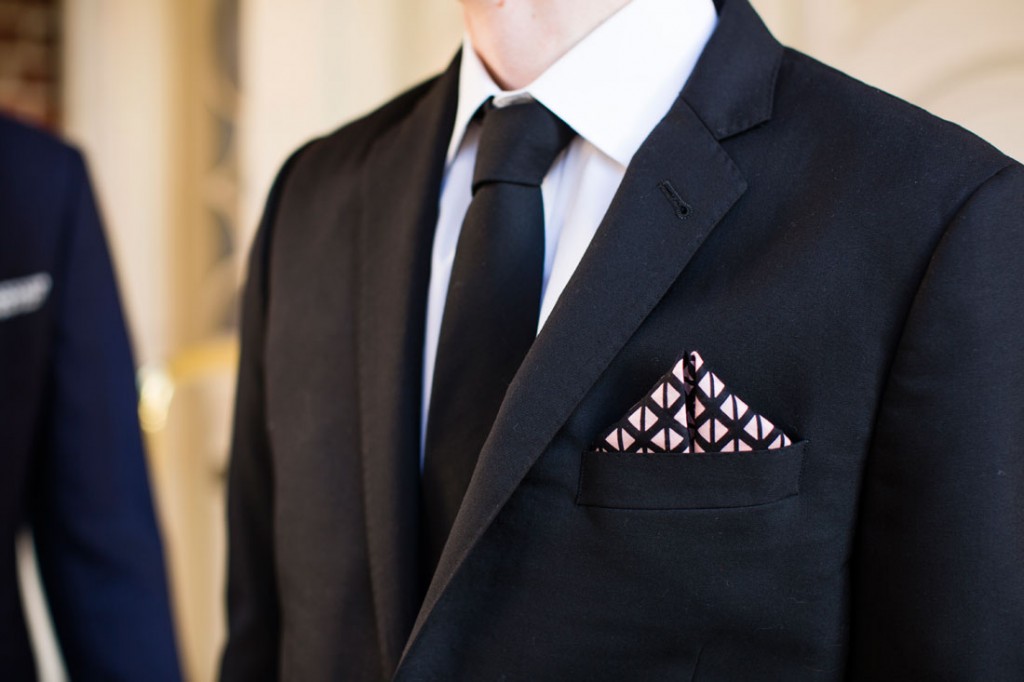
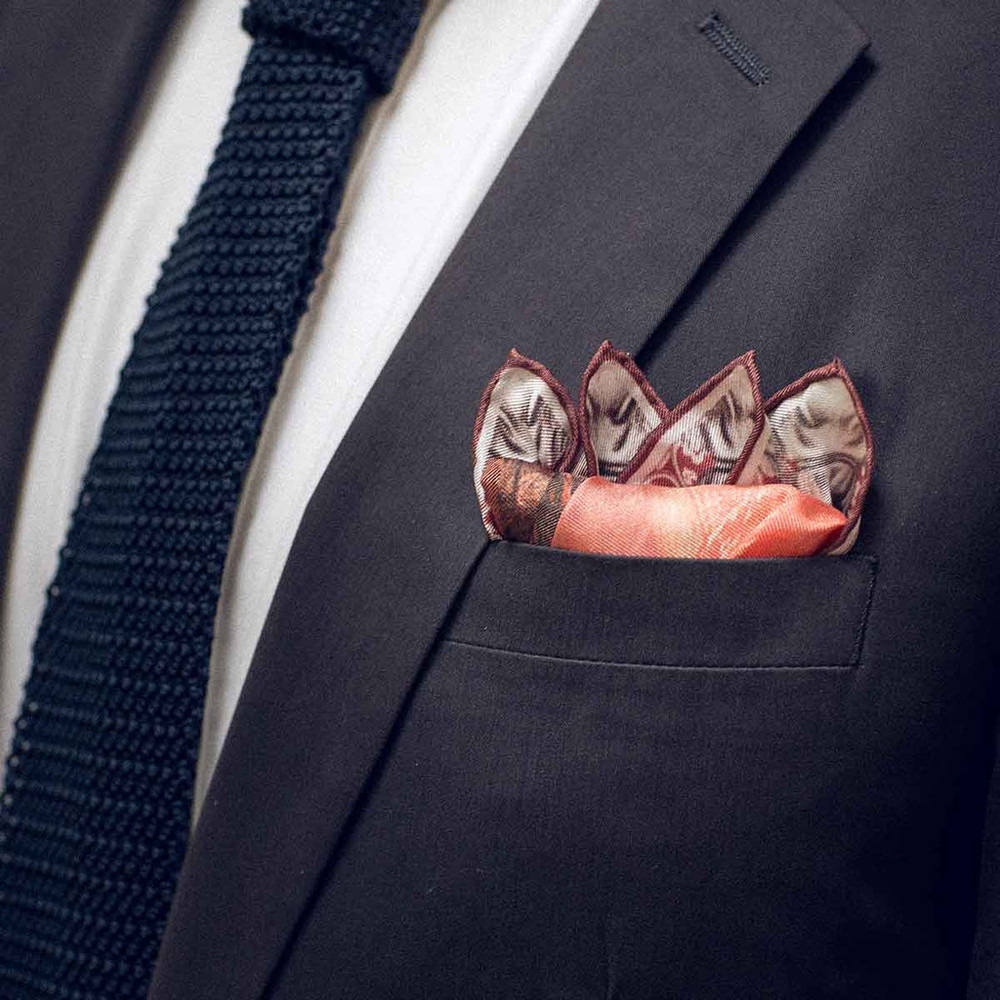
4. “The Three-Point Fold”
To make more than one or two points line up, it probably will take some practice. This is rather fancy style and it will need your whole look to be pretty dapper!

Step 1. Begin with the square fully unfolded and flat.
Step 2. Fold the square diagonally down the middle, bringing one corner across to meet the opposite corner. Angle the fold very slightly off-centre, so that one corner lies just to the left of the other. The two offset corners will be two of the three visible points of the fold, so adjust them to the desired gap.
Step 3. Bring the bottom left corner diagonally up at an angle so that it joins the two points already at the top of the fold. Position it so that you have three points side by side, as evenly spaced and similar in size as possible.
Step 4. Fold the bottom right corner inward, flat across the bottom, as far as needed to make the complete fold roughly the width of your jacket’s breast pocket.
Step 5. The finished fold will not be symmetrical. You should have a flat bottom, angled sides, and thee triangular points at the top. Tuck the bottom edge down into the jacket’s breast pocket. Leave the three points visible, with the rest of the square hidden.
5. “The Four-Point Fold”
This one is a bit easier to keep neat and even than the three-point fold, since all the folding is symmetrical.
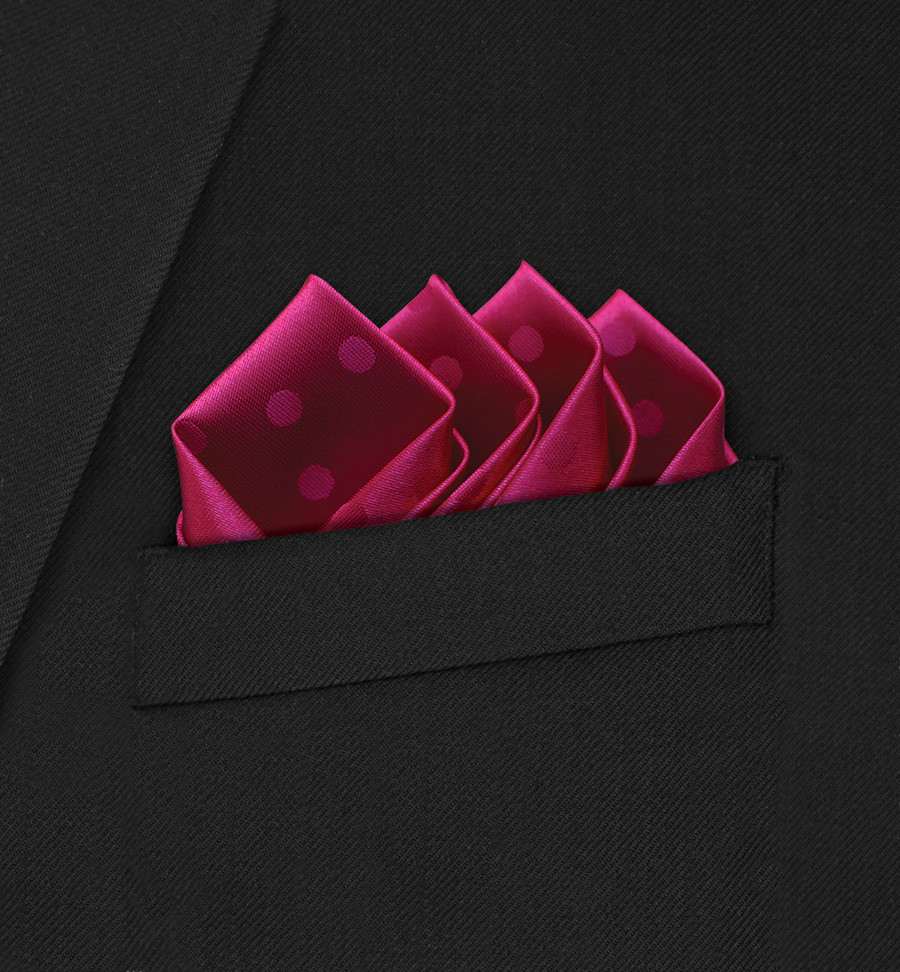
Step 1. Begin with the square fully unfolded and flat.
Step 2. Fold the square diagonally down the middle, bringing one corner across to meet the opposite corner.
Step 3. Bring the bottom left corner diagonally up across the fold, finishing with the point of the corner to the right of the top two corners. All three should line up neatly, as close to even spacing and equal size as possible.
Step 4. Repeat the process with the bottom right corner, bringing it up and across so that it forms a final point to the left of the others. Adjust as needed to make all four points roughly the same size, with equal spacing between them.
Step 5. Tuck the long part into the jacket pocket and snug it down until only the four tips are visible. The outermost two should spread away from one another, framing the two center points.
6. “The Puff Fold”
It is not formal, but it is most certainly stylish.
Step 1. Rather than laying the square flat, pinch it at the center and let the edges and corners hang down.
Step 2. Take a moment to adjust the hang of the fabric so that it is relatively even all around.
Step 3. Still pinching the center in one hand, use your other hand to tug gently on the dangling edges, pulling the pocket square into a loose tube shape.
Step 4. Very gently roll up from the bottom of the tube until the folded square is short enough to tuck into your jacket’s breast pocket, with just the dome formed by your pinching the center showing.
Step 5. Tuck the folded pocket square down until just the rounded top of the finished shape is visible.
7. “The Winged Puff Fold”
This is a hybrid style that blends the soft edges of a puff fold with the angles of a single point fold. It’s also quite compact, making it a good option for undersized pocket squares.
Step 1. Begin with the square fully unfolded and flat.
Step 2. Fold the square diagonally down the middle, bringing one corner across to meet the opposite corner.
Step 3. Fold the corners inward and upward from each end of the long side, bringing them up to meet the point where the two opposite corners met.
Step 4. Fold the three corners that are not the winged top peak in to the center. You should finish with an “envelope” fold: squared off on three edges, with a triangular peak on the fourth. There will be a visible slit down the center of the triangular peak.
Step 5. Tuck the squared-off sides of the finished fold down into your jacket breast pocket, so that only the pointed peak with the split down its middle is visible. Use your fingers to gently tease the two “wings” of the peak slightly apart. It’s all right to let them take on a domed shape, like the puff fold.
8. “The Scallop Fold”
It looks good in glossy, colourful fabrics, and is not particularly formal. Suits best for weddings and other celebrations.
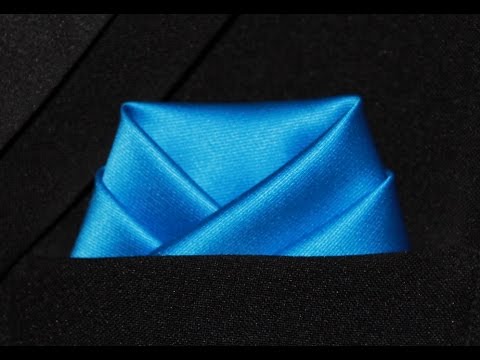
Step 1. Begin with the square fully unfolded and flat.
Step 2. Fold the square diagonally down the middle, bringing one corner up to meet the opposite corner. This should leave you with a wide triangle of doubled-over fabric.
Step 3. Fold the triangle in half again, bringing the two corners at either end of the first fold together. This will form a smaller triangle.
Step 4. Lifting the square, gently curl one of the doubled corners in and downward. Don’t fold it or crease it — just bend it inward, at a bit of an angle.
Step 5. Repeat the process for the other corner. Curl it in and down, laying it atop the first corner you bent inward.
Step 6. Tuck the triangular point down into your pocket. Keep tucking the finished fold until only the tops of the curves you formed are visible. They should lay neatly one atop the other, forming a rounded, scalloped shape with all points and straight edges hidden. This is an organic shape, so it’s forgiving of some uneveness. Don’t worry if there’s a bit of separation between edges on the scalloped arms. As long as everything is proportional and you don’t have one corner popping out of the pocket, it’ll look fine.
9. “The Dunaway Fold”
This is the simplest way to make a slightly puffy, fringed shape with the edge of a pocket square. Depending on how stiff and how colorful your fabric is, it tends to look something like a flower or a bursting firecracker.
Step 1. Rather than laying the square flat, pinch it at the center and let the edges and corners hang down.
Step 2. Take a moment to adjust the hang of the fabric so that it is relatively even all around.
Step 3. Still pinching the center in one hand, use your other hand to tug gently on the dangling edges, pulling the pocket square into a loose tube shape.
Step 4. Invert the tube shape and spread the loose edges out with your fingertips, making a roughly symmetrical spread of the corners. Fold the center of the square upward, stopping about halfway up the tube shape.
Step 5. Tuck the doubled-over tube into your jacket breast pocket so that only the splayed edges of the pocket square are visible. Adjust them with your fingers as needed. Perfect symmetry is not needed.